Every year my students take multiple diagnostic assessments and benchmarks before state-mandated testing begins. And every year, what is one of our lowest scoring domains in math? …GEOMETRY…The vocabulary necessary to successfully navigate those geometry questions, is one of the main contributors–its a lot of definitions and images to internalize and apply.
Teaching geometry doesn’t have to be a boring, drill though! It can and should be fun and meaningful for children! I love brainstorming and researching ideas for how to help students learn concepts, and so I went down the rabbit hole yet again with geometry. The result was improved growth scores and learners that were engaged and challenged.
So if you’ve found yourself in a similar position, check out the following ideas below!
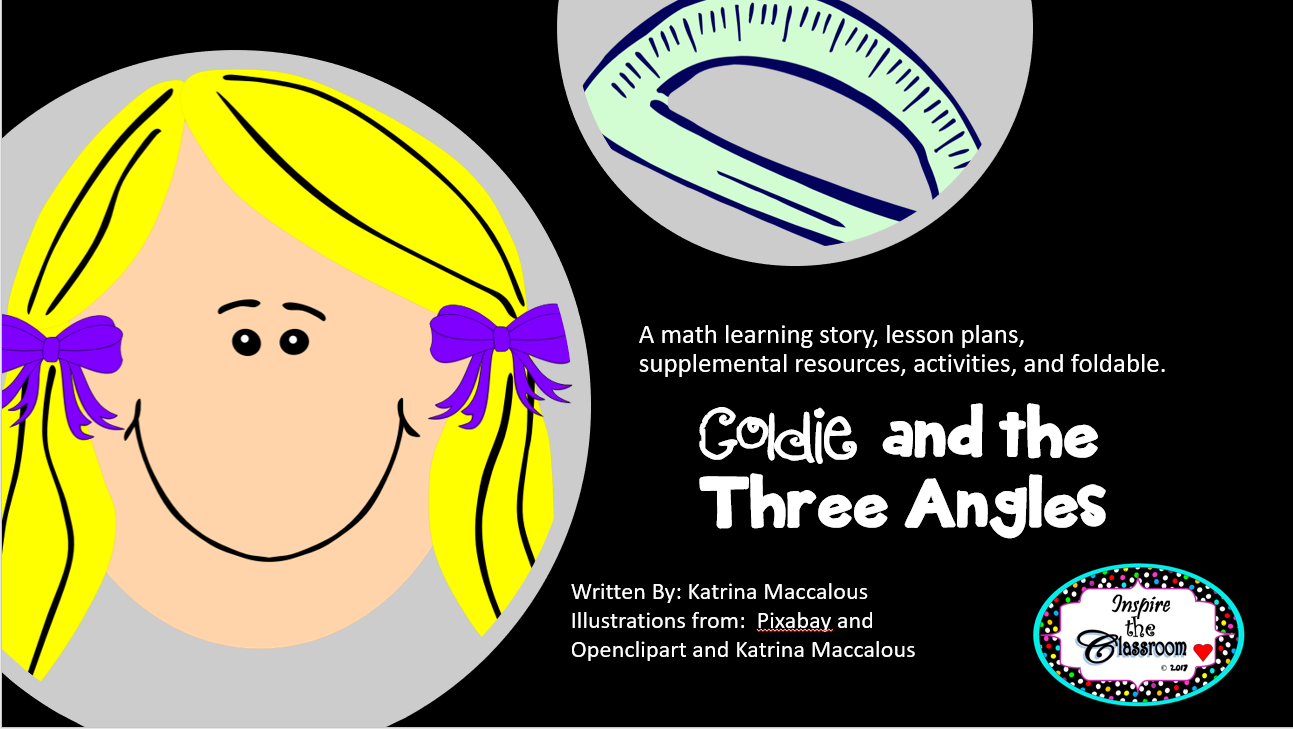
Bundle of Angle Fun:
This bundle is available at my TPT store. It was quite a hit with my students, who loved hearing the math ideas integrated into a familiar story! Since this time, I’ve created several more stories that relate to math content. One of my other favorites is my Fraction Land collection (story, game, and lessons). Check back soon for a post on teaching fractions for more on that!
This bundle includes the story “Goldie and the Three Angles,” suggested lesson plans, a foldable printable, vocabulary cards, scavenger hunt and art activity!
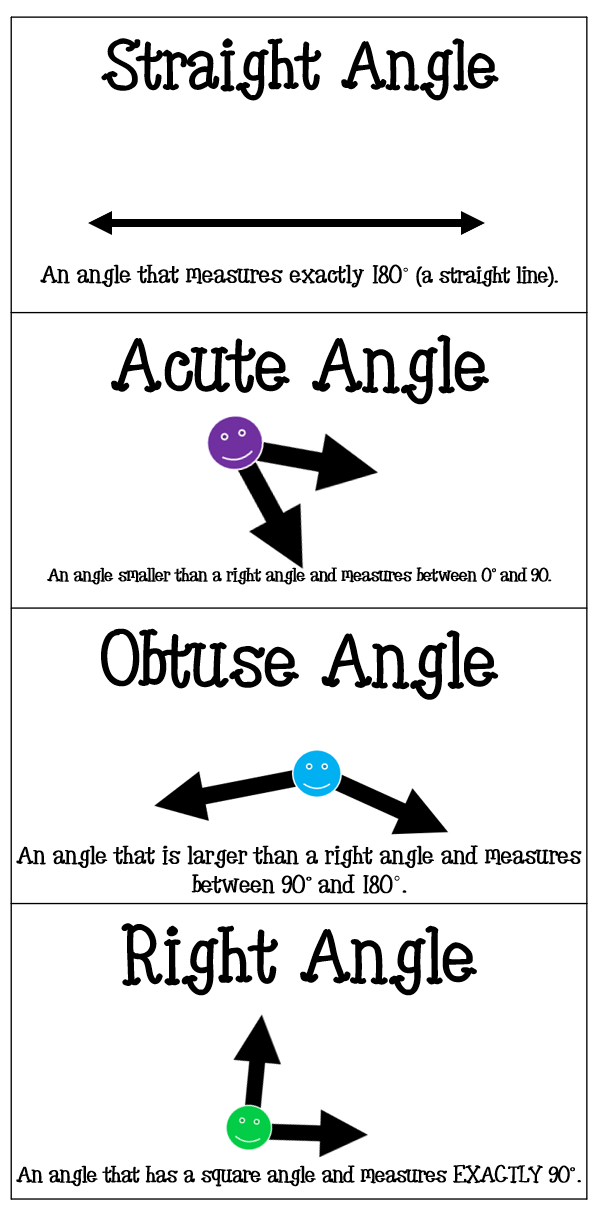
As a thank your for stopping by this little blog of mine, I am including a FREE download of this vocabulary chart WITH definitions included!
Here is a completed example of the angle foldable included in the bundle.
This is an example of a digital version of the angle art activity. These are some examples of one of my favorite activities for kids to demonstrate their understandings of types of angles. This activity is also included in the bundle!
The final piece in this learning process, is learning to apply their understandings to test-style questions. Usually this takes the form of a series of lines labeled with variables, in which students are asked to identify the types/number of angles. One way to begin to introduce this, is to link it with geography! Provide students with local or regional maps, and have them highlight the different angles and lines they find (This works best after they have also been exposed to perpendicular and parallel lines.).
Please share any other ideas you have for teaching geometry, and as always…happy teaching!
As an adult, I assumed rounding and estimation were a simple concept…I mean…we use it all the time with finances! However, it became quite clear to me once I began teaching, that this concept would actually be one of the more difficult concepts for children to understand. While many can memorize the old rule of “5 or more, raise the score (round up)…4 or less, let it rest,” do they actually understand what they’re doing and more importantly WHY that rule exists?
The idea of why, and the meaningfulness behind the idea of rounding/estimation/approximation, has become a focus with my own students during our early days back at school (and spiraling throughout during morning routines). If they can see why it works and why we do it, then we’ve not only established a purpose, but worked on the idea of number sense. (So, so important!- I will definitely post about this all too crucial skill many times in the future.)
So, this week, my students began tackling this concept! My plan of attack is to always begin with inquiry. What do they know about rounding, and provide a real world example to grapple with.
This year, I used a future camping trip that I am planning as my example, but any examples such as grocery shopping or planning how many treats to bring for a party will work too. Without any instruction on HOW to determine how much I should bring, I told them the cost was $101.97, and asked them what would be an easier amount to bring. Without much hesitation, they all agreed that $102 would be easier to bring, because 0.97 cents is almost one dollar. They were rounding, even though they may not have realized it.
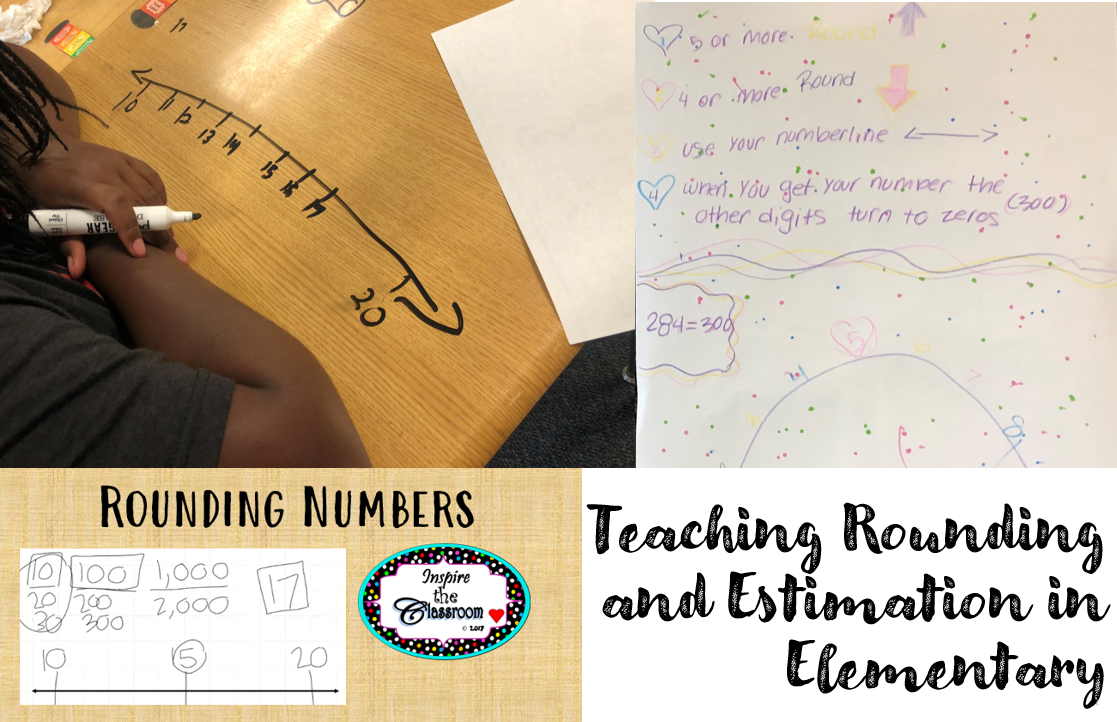
Then I gave them another example. This time 17, and asked them what number it was closest to. As I walked around the room, questioning students, I was pushing them to prove their thinking (justify). Below are some examples that they produced without any guidance other than to prove to me and others that 17 was closer to 20. During a quick share, I had those students explain how they knew that 17 rounded to 20. I made sure to also call on a student who brought up the idea of 5.
(This is the perfect opportunity to model WHY the 5 or more/4 or less rule works by showing how 5 is the halfway point of 10, so 15 is halfway between 10 and 20…50 is half of 100, and so on. I also show this on “rounding mountain,” with 5 at the peak.)
Some students also wrote complete sentences to explain their thinking (yay!), but I missed the photo op.)
Based on this formative assessment and discussion, I determined that we were ready to challenge ourselves with a number in the thousands period (family). I followed the same process with a new number, and released my students to try and make connections to what we had just discussed. (How students react in these situations is really helpful in determining what level of modeling/direct instruction must take place.)
I had anticipated that I would need to model the steps with these larger problems, and I was correct. We regrouped, and I guided them through the process while modeling the thinking process of noticing what place value I was being asked to round to, what two multiples it was between (1,000; 2,000; etc.), placing those on the number line, finding the midpoint, and placing the number on a number line to determine which multiple it was closest to.
Then student had an opportunity to explain what they saw me do in their own words with a partner.
Since we are working on a blended learning model, we logged onto Canvas to watch another explanation and a “Rules for Rounding” fill-in-the-blank activity. Students took notes during these in their math journals for future referencing.
Student Math Journal Sample
After some more exploration and guided practice (dependent on the pacing of the lesson thus far), I like to have students take on the role of teacher and create their own “anchor charts.” This provides them the opportunity to practice “talk read talk write” and engage in a gallery walk to observe each others’ rules, ending with a closing discussion of ideas and any misconceptions seen.
Note: This lesson could easily be broken into multiple days, and it definitely needs to be revisited throughout the year.
Later in the week, we will move to applying this idea with compatible numbers and estimation. Many conversations and respectful debates will occur to analyze rounding examples and non examples! My goal here is to get kids thinking about why it works and also when it doesn’t.
Below I’ve included two virtual lessons I recorded for my students online, as well as some helpful tips, basic rules, and examples/resources. I will update this post as I, yet again, make adjustments based on observations from implementation!
Happy teaching!
Rules for Rounding:
Identify (find) the number in the place value you are rounding to.
Determine what two multiples the number is between.
Which one is it closest to?
If it’s halfway or more…think 5 or more…move up! (“5 or more, raise the score”)
If it’s less than that…4 or less… make it go back (“4 or less, give it a rest”)
Everything larger stays the same, everything after drops to zero.
Student Poster from Last Year:
Video Lessons:
Activities:
Roll and Round
Directions:
Players take turns rolling a set amount of dice (tip: differentiate by place value size). They then arrange the dice to make a number (EXAMPLE: 5, 8, 1, 2, 2 might become 12,582)
One player flips over a place value card to determine how they will round their number (nearest…10, 100, 1,000…)-again, another way to easily differentiate the task. Get it free here for a limited time!
All players then round their number to the place value drawn. You can provide students with an open number line to support them if needed.
The player with the highest value wins that round.
Compatible Number Match
Directions:
Students lay all the cards face up.
Players take turns finding two numbers that are compatible with each other.
If they make a match and explain why the two numbers match, they keep the cards.
Players continue taking turns until no matches/cards are left. The player with the most cards wins. (freebie here!)
Cookie Consent
We use cookies to improve your experience on our site. By using our site, you consent to cookies.
Websites store cookies to enhance functionality and personalise your experience. You can manage your preferences, but blocking some cookies may impact site performance and services.
Essential cookies enable basic functions and are necessary for the proper function of the website.
Name
Description
Duration
Cookie Preferences
This cookie is used to store the user's cookie consent preferences.
30 days
These cookies are needed for adding comments on this website.
Name
Description
Duration
comment_author
Used to track the user across multiple sessions.
Session
comment_author_email
Used to track the user across multiple sessions.
Session
comment_author_url
Used to track the user across multiple sessions.
Session
Stripe is a payment processing platform that enables businesses to accept online payments securely and efficiently.
Used to determine whether a user is included in an A / B or Multivariate test.
18 months
_ga
ID used to identify users
2 years
_gali
Used by Google Analytics to determine which links on a page are being clicked
30 seconds
_ga_
ID used to identify users
2 years
_gid
ID used to identify users for 24 hours after last activity
24 hours
_gat
Used to monitor number of Google Analytics server requests when using Google Tag Manager
1 minute
_gac_
Contains information related to marketing campaigns of the user. These are shared with Google AdWords / Google Ads when the Google Ads and Google Analytics accounts are linked together.
90 days
__utma
ID used to identify users and sessions
2 years after last activity
__utmt
Used to monitor number of Google Analytics server requests
10 minutes
__utmb
Used to distinguish new sessions and visits. This cookie is set when the GA.js javascript library is loaded and there is no existing __utmb cookie. The cookie is updated every time data is sent to the Google Analytics server.
30 minutes after last activity
__utmc
Used only with old Urchin versions of Google Analytics and not with GA.js. Was used to distinguish between new sessions and visits at the end of a session.
End of session (browser)
__utmz
Contains information about the traffic source or campaign that directed user to the website. The cookie is set when the GA.js javascript is loaded and updated when data is sent to the Google Anaytics server
6 months after last activity
__utmv
Contains custom information set by the web developer via the _setCustomVar method in Google Analytics. This cookie is updated every time new data is sent to the Google Analytics server.
2 years after last activity
SourceBuster is used by WooCommerce for order attribution based on user source.
Name
Description
Duration
sbjs_first_add
Timestamp, referring URL, and entry page for your visitor’s first visit to your store (only applicable if the visitor returns before the session expires)
session
sbjs_current_add
Timestamp, referring URL, and entry page for your visitor’s current visit to your store
session
sbjs_migrations
Technical data to help with migrations between different versions of the tracking feature
session
sbjs_session
The number of page views in this session and the current page path
30 minutes
sbjs_udata
Information about the visitor’s user agent, such as IP, the browser, and the device type
session
sbjs_first
Traffic origin information for the visitor’s first visit to your store (only applicable if the visitor returns before the session expires)
session
sbjs_current
Traffic origin information for the visitor’s current visit to your store
session
You can find more information in our Cookie Policy and .


